Create Your Own Free Full-Body Anime OC Character with VRoid, an Online Maker.
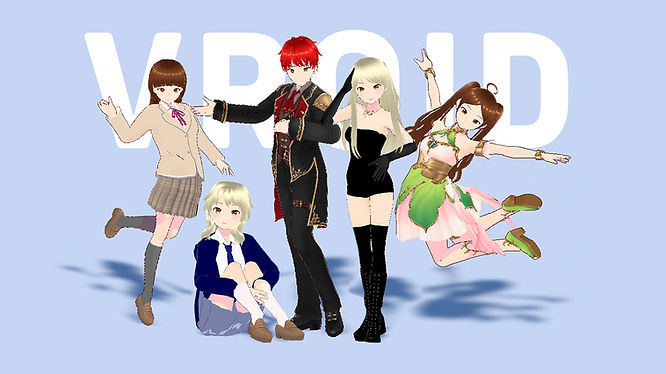
Discover the Full-Body Anime OC Character Creator and learn how to use VRoid, your go-to free online tool, to make your anime fantasies. Dive into VIVERSE, an interconnected world where creativity reigns supreme. Start by creating your own characters with VRoid Studio, and then introduce them into VIVERSE, where dreams become reality. In this universe, every VRM avatar becomes a hero in their own story, offering endless possibilities for exploration and adventure.
Step 1 Your Anime, Your Way: Dive into Character Creation with VRoid
Creating your own characters is a breeze with VRoid Studio, your ultimate avatar maker. After downloading and installing the software, launch it.

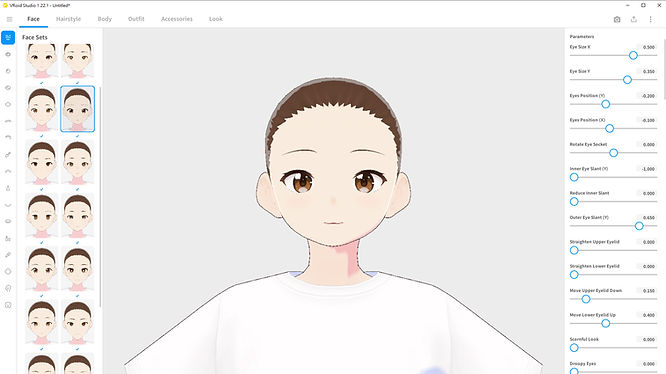
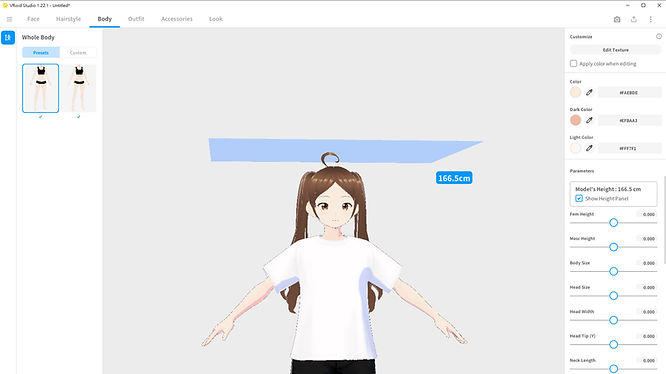
Customize your character’s look by manipulating features like hairstyle, clothing, and facial expressions using the intuitive tools at your disposal. Don’t forget to import textures and accessories for that extra touch of uniqueness. One thing to keep in mind is that you should save the .VRoid original file if you wish to edit your anime character in the future as the VRM file isn’t editable.
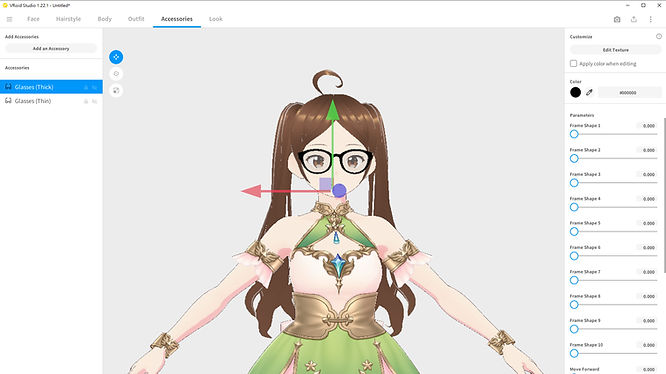
Step 2 Accessorize Like a Pro: VRoid Hub’s Treasure Trove Awaits
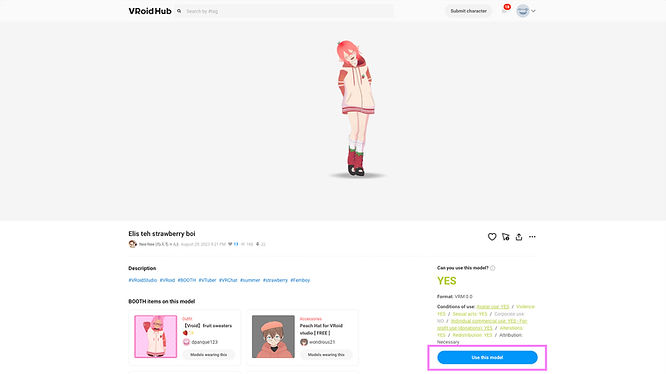
VRoid Hub is your go-to source for expanding your avatar creator toolkit. Start by creating a Pixiv account. Afterward, you can browse an extensive selection of items for your characters. Whether you need a new hairstyle or a unique accessory, you’ll find it here. Click on the item you want, and then hit the “Download” button to save it to your avatar maker resources.
Step 3 Get Ready to Rock VIVERSE with Your VRoid Avatar!
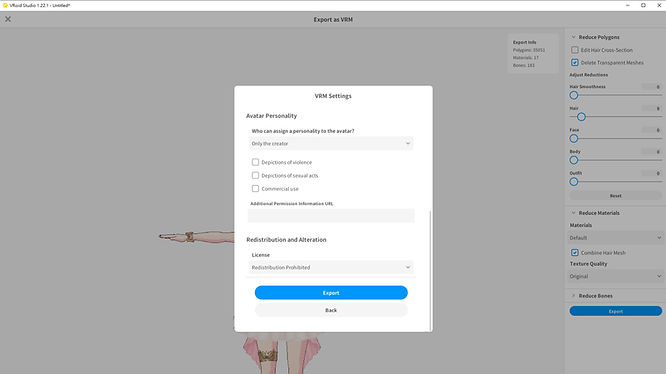
Once you’re satisfied with the avatar you created with VRoid Studio, simply click on the share button on the top right corner, and select ‘Export as VRM’. Then, fill in the required VRM settings. (Learn more: What is VRM? Exploring the World of VRM Avatars)
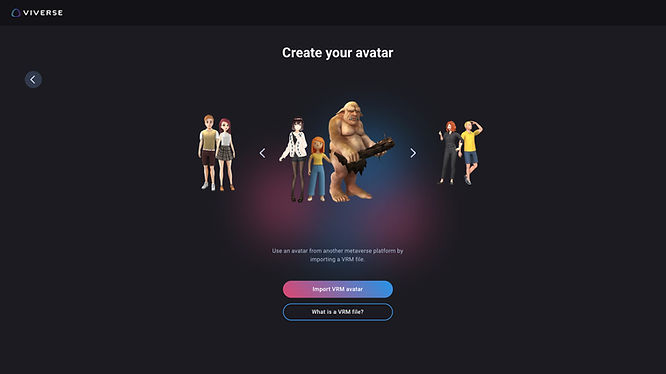
Finally, go to Avatar in VIVERSE to create your avatar. Select ‘Import VRM Avatar’ and you’re all set!
