Your Step-by-Step Guide to Setting Up and Decorating Virtual Spaces in VIVERSE

If you’ve ever dreamt of creating your own virtual world but felt intimidated by the complexity of tools like Blender or Unity, then VIVERSE by HTC is your answer. Designed with ease of use and accessibility in mind, VIVERSE ensures that anyone, irrespective of their technical background, can set up and decorate their virtual spaces seamlessly. This tutorial will guide you through the basics of setting up your space in VIVERSE, to turn your virtual vision into reality.
Step 1: Accessing VIVERSE
1. Begin by heading over to VIVERSE in your favorite browser whether it be Chrome, Firefox, or Safari.
2. We now want to create a free VIVERSE Account. From the main page click on the “Explore button” on the left-hand menu. Then find the Sign-in button on the top right.
Step 2: Setting Up Your World
1. Once you have created a free VIVERSE account, you’ll be able to see your user icon on the top right. Click on it, then click on “Create New World” to start your project.
2. You’ll be presented with a range of templates to choose from, including empty rooms, swimming pool, or themed environments. Pick one that resonates with your vision.
(Learn more: Utilize VIVERSE’s Free 3D Customizations Tools to Personalize Your Own Piece of the Metaverse!)

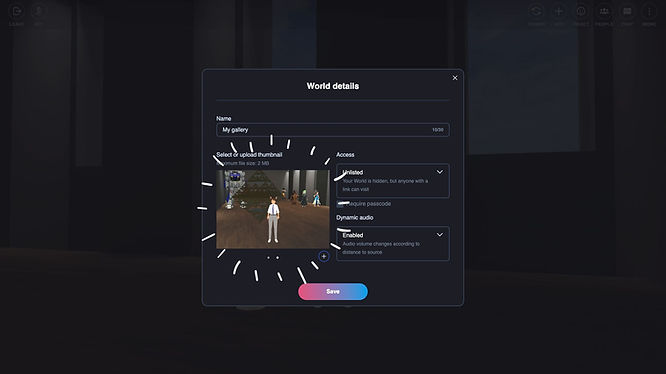
3. Give your space a name and set your private/public world settings which can always be changed at any time later.

Step 3: Decorating Your World
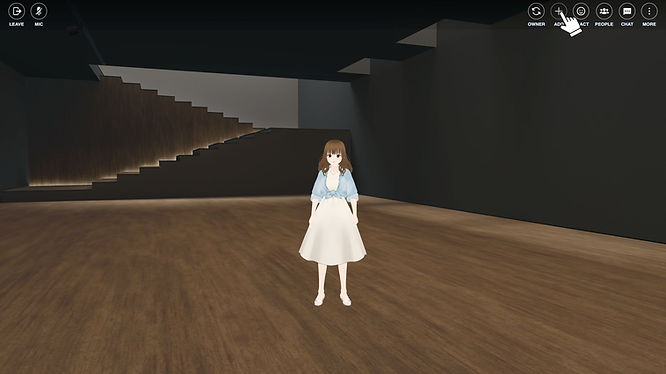
1. To get started with decorating, switch to owner view and click on the “+” on the top right menu, from the Sketchfab tab you’ll have access to a multitude of objects including furniture, animated characters, foliage and so much more available for customization.

(Learn more: Adding an object to your World in VIVERSE)
2. To add an item to your space, simply click on it and it should pop right in front of you.
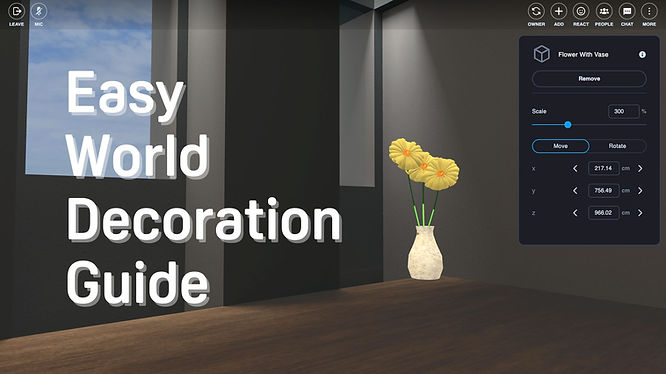
3. Click on the object to open the VIVERSE object inspector menu, and use the rotate, scale, or move tools to adjust each item’s position, size, and orientation until it fits just right.
4. For those looking to add personal touches, VIVERSE offers the option to upload custom objects or images. Ensure they are in a supported format like .glb, jpeg, or mp4, and then you can integrate them into your space by simply clicking on the “upload” inside the add objects menu. (Learn more: What can I add to my World in VIVERSE?)
Step 4: Saving and Sharing Your World
1. VIVERSE has a very convenient “autosave” feature which means you won’t have to click on any ‘Save’ button. You can exit VIVERSE anytime and find your world, just how you left it. 2. Adding a cover image to your space is another useful way VIVERSE allows you to express yourself!

To get started, simply click on the “more” button in the upper right corner, then click on the “world details” and finally click on the “+” right below the cover image. You will then be given the option to upload an image from your local machine. The ideal image size should be under 2 MB, in the png or JPG formats with an ideal aspect ratio of 930*645 pixels.
3. VIVERSE provides options to keep your space private, share it with specific individuals, or make it public for all to explore. Choose the option that suits your preference.
4. To invite others, simply send them the link to your space. They can then explore your virtual creation using VIVERSE’s platform. Click on the 3-dot menu in the top right corner, click on the “share” button, and send your link out to whoever you’d like!
Final Thoughts

Creating in the digital realm doesn’t have to be a complicated process reserved for the tech-savvy. With platforms like VIVERSE, setting up and decorating your own virtual space is made easy and accessible.
Dive in, explore, and start crafting your very own virtual world today!
For more information on VIVERSE world creation feel free to check out our “Starter Worlds” beginner guide on YouTube: